This article was originally published on the web however that website is defunct at July 2016. The copyright remains with the original author(s).
Emasculation and Pollination Process
 Choose a flower that is about to open, preferably at the top of the plant. The reason for this is that a bloom at the bottom would be more likely to have been contaminated by pollen dropped from flowers above - hence the stigma could already have been fertilised from an unknown source.
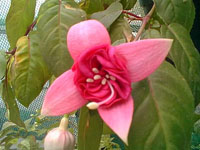 Carefully open the flower that you are planning to use, either by hand or with a pair of tweezers. Remove the filaments and anthers. This bloom, and seed pod (ovary) will now be known as the 'Seed Parent'.
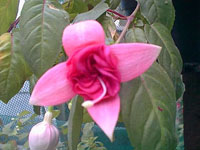 The flower has now been emasculated. Visible in the centre of the flower are the style (which leads to the ovary) and the stigma. The stigma is the female receptive organ.
 The next stage is to choose which cultivar you would like to use as the 'Pollen Parent'. Once this has been decided carefully transfer the pollen from the anthers, either by hand, with a small paint brush or by taking the anthers from the plant and brushing them against the stigma of the 'Seed Parent' flower. Some people advocate that the stigma should now be covered to protect it from further pollination by insects or wind. I personally don't believe this to be necesary.
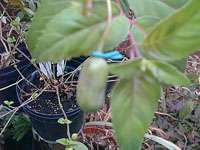
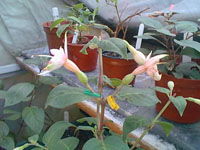 Shown on the left are flowers several days after cross pollination has been carried out. The seed pods (ovaries) will then start to ripen - although this is no guarantee that seeds will be present. Note the coloured twist ties that are placed around the pedicels to help denote the cross should the seed pod fall prematurely.
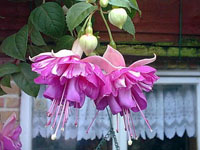
 The seed pod should ripen within six to eight weeks - although some may ripen sooner, whilst others may take slightly longer.